Did you know that you can print your own topographic maps from home? It is pretty darn easy and here is how you can do it. Of course you will need a computer, a printer and a healthy internet connection. You will also need Adobe Reader but if you don’t, there is a link at the bottom of the USGS page.
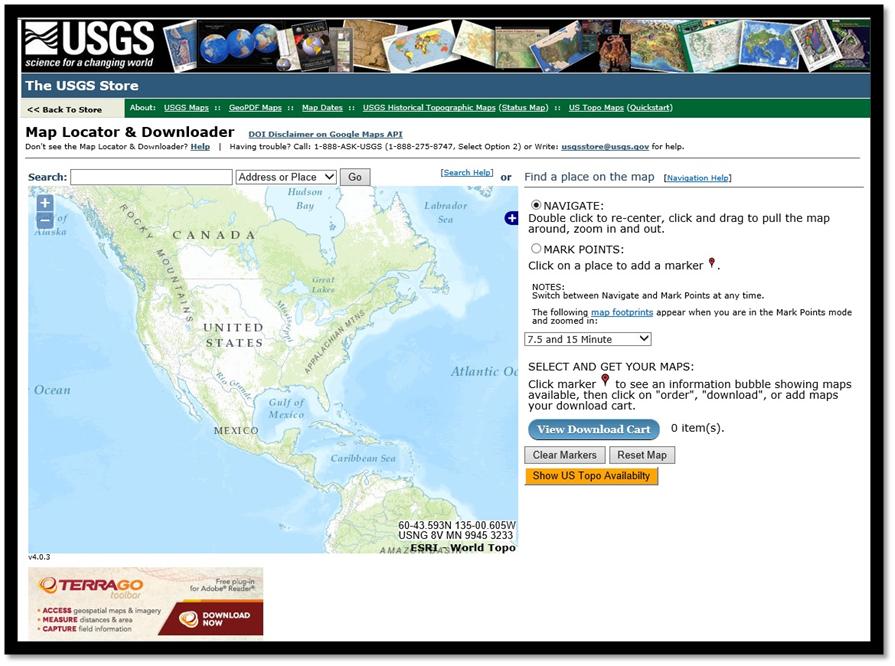
Step 1: Go to the United States Geological Survey’s website: http://store.usgs.gov/b2c_usgs/usgs/maplocator/(ctype=areaDetails&xcm=r3standardpitrex_prd&carea=%24ROOT&layout=6_1_61_48&uiarea=2)/.do You will see the following screen:
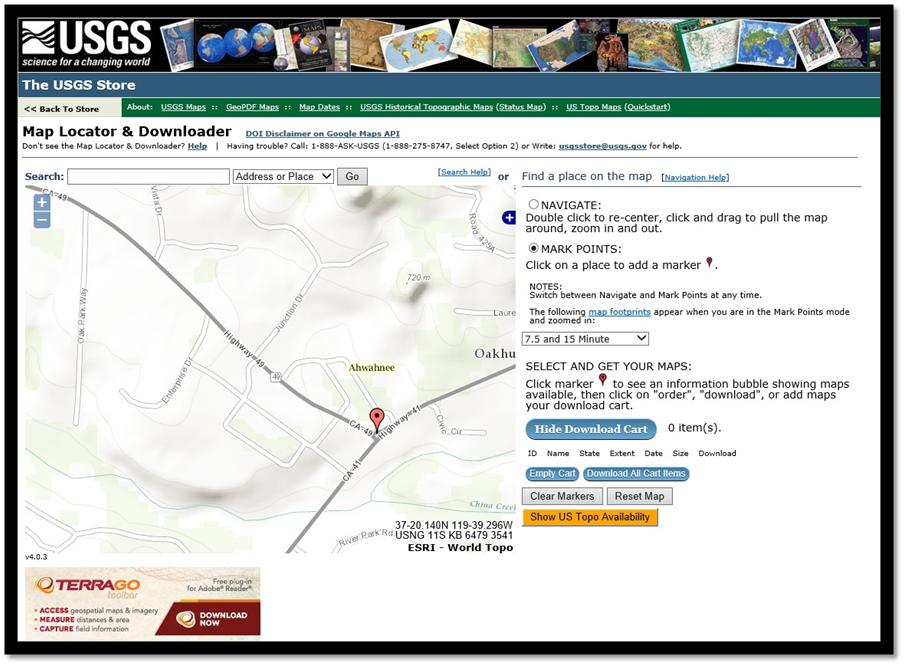
Step 2: Double click on the area of the map that you want to use and drag to re-center when needed. You will need to keep doing this until you get down to the resolution that you wish.
Step 3: Click on the “Mark Points”, then click your mouse on your map in your main area of interest. It will create that red pointer mark.
Step 4: Click on your red marker and you will see the availability of quad maps. Choose the one you wish and click which map you would like under the “Download” button.
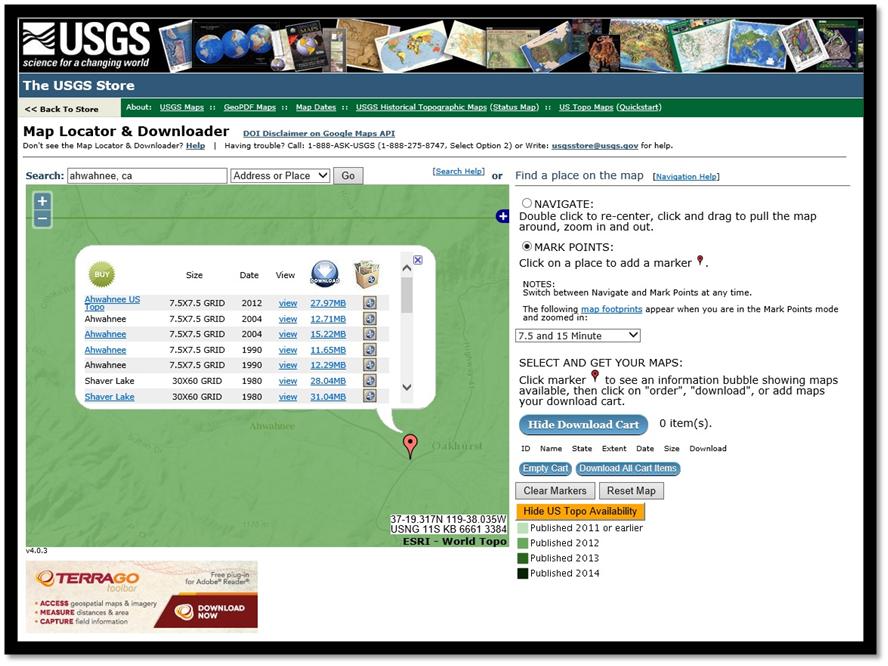
Step 5: You can view a teeny tiny look at the map from the “View” button or download it. Depending on your Computer’s Operating System, you may see a variation of the below screenshot. You can save to your computer or open it up. It will be saved in a zip file and as you can see these are mighty big files.

Step 6: You can print the map from your desktop or save and open it up in Adobe, then use your Photo or Paint program to print out a custom section of it. I think you get the drift. Open it up and there you have it!
There are other options on the site that you can play with. Just wanted to share a resource with you!
Sources: