This is a subject I’ve had the opportunity to learn a good deal about in the last year. I most certainly have more to learn, but I would like to share what I know. I’ve come to understand that how and when you repot your plants can make a very big difference in how your plants thrive.
Making sure you’re repotting at the right time and using the right size pot makes a great deal of difference in narrowing your margin for error, especially when it comes to proper watering.
I’ve also learned that certain plants do much better, produce more offspring and flower more often when they are in a snug pot as opposed to being given lots of room to grow.
Plants give us clear signs when they are root bound and need more space for their roots, and I will discuss those symptoms in this article.
Another helpful thing to understand, is that what type of pot you use will determine how often your plant will need water.
Root-bound plants
It isn’t best to wait until your plant tells you to repot it, but most often we don’t realize it is time until the plant tells us. These are some symptoms the foliage will display if it is root bound.
Yellow or browning leaves, usually at the based of the plant and sometimes at the tips of the leaves
 Stunted growth
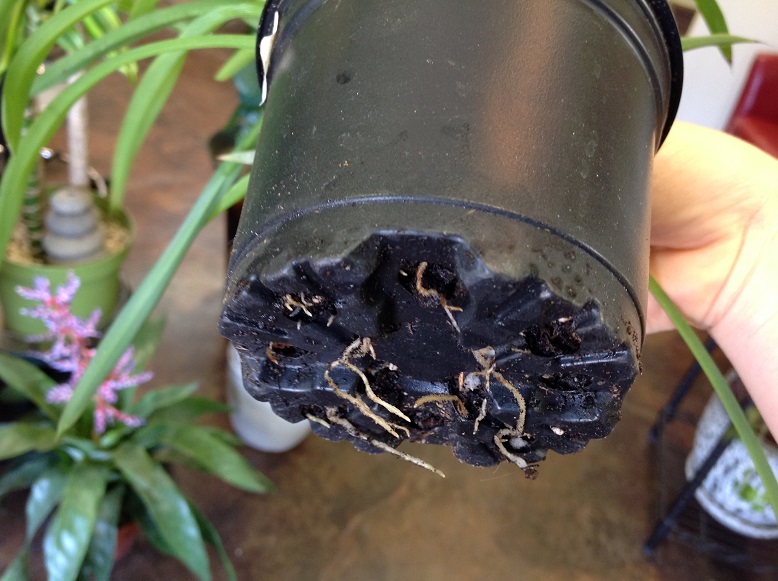
Roots protruding out of the top of the soil or coming out the bottom of the pot.
If you have a hunch that your plant is root bound, one thing you out can do is gently lift it out of the pot and examine the roots. A root bound plant will often have more roots than soil and the roots will be tightly tangled together. Also if you can’t get the plant to budge out of the pot, that is a very good indicator that it is root bound.
There have been times in my shop where I have actually had to cut the plastic pot into pieces to get the root bound plant out. So, in some cases you may have get creative in removing the plant without breaking the container you have it in.
With ceramic pots, I have often held the pot upside down and gently shaken it while giving a gentle tug on the plant to ease it out of the pot.
Non root-bound plants
If your plant isn’t showing root-bound signs, but it is clearly outgrowing the pot you have it in, you’ll need to determine what size pot to re-plant into. Whether the plant is root bound or not, you’ll want to follow the same rules for re-potting as to not choose a pot that it too large.
Your plant should have a large and healthy root system when you re-pot. If you pull out the plant and find that though it is large and healthy looking, but does not have considerable root growth, you are better off leaving it in the pot it is in and letting it grow some more before you re-pot. Like I often say to my customers “if it’s not broken, don’t fix it.”
 Pot Size & Root Rot
The reason I find this to be crucial, is that often times, if you re-pot a plant before it is ready, there can be too much room between the root system and the bottom of the pot. I’ve found that anything more than two or three inches can cause trouble.
What happens is that even if you are watering properly and regularly, excess water will build up in between the space between the root and the bottom of the pot. This can be the case even if the entire top of the plant, down as far as your fingers can reach, is dry. It can still be waterlogged down in that space between the roots and the pot bottom. Over time, the excess moisture can cause disease, rot and encourage bugs to attack your plant. I’ve found it is particularly vital to take this into consideration when dealing with plants that want to be dry between watering.
Root Rot
A plant that has root root displays characteristics that can’t be generally mistaken as anything other than what it is. A plant that is simply overwatered, generally droops and the leaves look heavy and can turn a blackish brown in spots. This can generally be cured by letting the plant go completely dry and cutting back the damaged leaves. It usually takes about three weeks for a plant to recover.
In the case of root rot, your plant will display these symptoms but the plant will most likely, in addition to what I just described, become mushy and the stems might turn black, become rubbery and may fall over.
If this is happening to your plant you’ll need to remove it from the pot and cut off the damaged parts all the way to the base of the plant. Be sure to pull out any rotten stems as they will only make it harder on the plant to recover.
You’ll notice back or brown slimy roots, normally around the base of the root ball depending on how bad the rot is. You’ll need to cut away every bit of dead root you can find, leaving only what is still firm and healthy. If the root rot was caused by too large of a pot, put it in a smaller pot with fresh dry dirt and do not water it in. Others may have different opinions on how to do this and by all means, do your research, but it find that leaving them to sit in the dry dirt for a time will leach out the excess water and help the plant recover faster. How much time you want to wait to water a plant recovering from over watering or root-rot can vary from plant to plant and the time of year so you will have to use the finger check to see when it had dried out sufficiently to begin regular watering. When the time does come, you will want to start off slow with a gentile top watering, testing to see how the plant responds and gradually return the watering to normal.
 The general rule for pot sizes
Plant sizes generally start at about two inches, that would be a terrarium size plant.
Next up would be a four inch, then a six inch. They usually go up by two inches per pot size. It’s important to realize it is not about the size of the plant you are repotting, but how much soil the plant is sitting in that determines what size to move it up to. The rule for me, is one step up at a time.
Timing
In my experience, plants that are in four inch pots are ready to be replanted within a six month time period, providing the plant is vigorous and healthy. That is the general rule, but there are always exceptions and it may be a shorter amount of time or a longer one. Some plants grow much slower than others while some grow very fast. Doing your research is a good way to know what is best for each type of plant.
Improvising
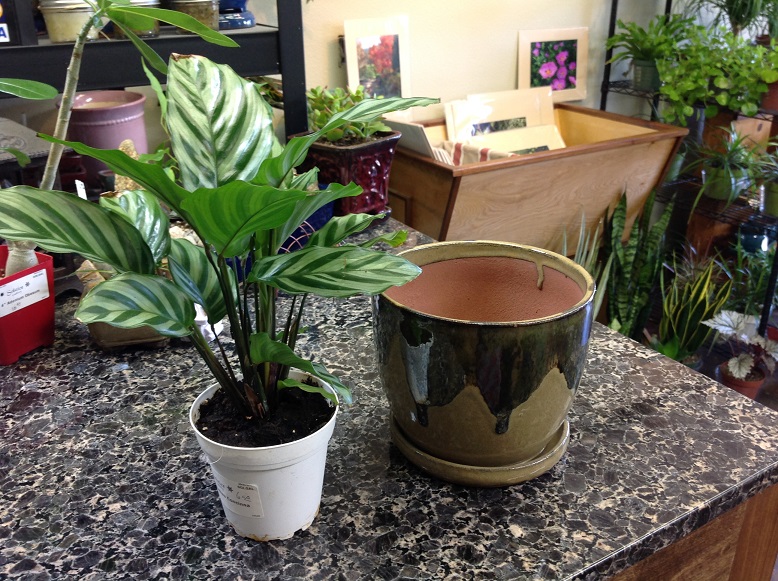
There have been times when a customer falls in love with a pot that is too big for their plant, though the foliage may fill out the top nicely. In this case you can do one of two things. My most preferred method is to leave the plant in the plastic pot it came in or if it is ready for something larger but not so large as the selected pot, I replant it into another plastic pot the next size up. After that I prop the plant up to the correct level of the desired ceramic pot with something plastic or even another pot placed upside down. It needs to be something that will still allow drainage for the pot, unless you want to remove it from the outside pot each time you water. If the plant is lush in foliage enough you can simply leave it like that and it will look like it’s planted in the larger pot. If not, you can use a filler like bubble wrap, packing peanuts or anything to fill in the gaps and then cover the top with Spanish moss. I like Spanish moss because it easily sticks together and can be lifted gently off the plant when you water, which I also recommend.
The second method is to take the pot that is too big for the plant and fill the pot directly with empty water bottles with the caps securely on. I usually stack them vertically so as to be sure water will still pass through them and not pool. Leaving about two or three inches from the base of the plant, I’ll then fill the pot with dirt and plant the plant inside the pot. This is not my favorite method, but I have found that it works in the case of wanting to display plants in tall pots. The downside is that once the plant grows deeper in, it can be a messy job to remove the plant and plastic bottles to make room for the growing roots.
 Pot Types
Drainage vs. no Drainage
I always recommend pots, whatever the type, with a decent drainage hole. Drainage is essential to ease in watering. It lets out any excess water and lets you know when you’ve watered enough, usually once you see a gentler trickle come out the bottom of the pot. The drainage hole also allows for more ventilation to the roots. You can use a pot with no drainage, but you must take precautions to protect against overwatering. You can do this by putting at least an inch of broken pieces of terra cotta in the bottom, small rocks or charcoal. I recommend charcoal or broken terra cotta because both of them absorb excess water. But the most important thing is to water sparingly with a pot that has no drainage or you will find your plant waterlogged in no time at all.
If you have a pot with no drainage and you really want to plant something in it, you can also use a ceramic drill bit to drill a hole in the pot. I have one on hand at the shop just in case.
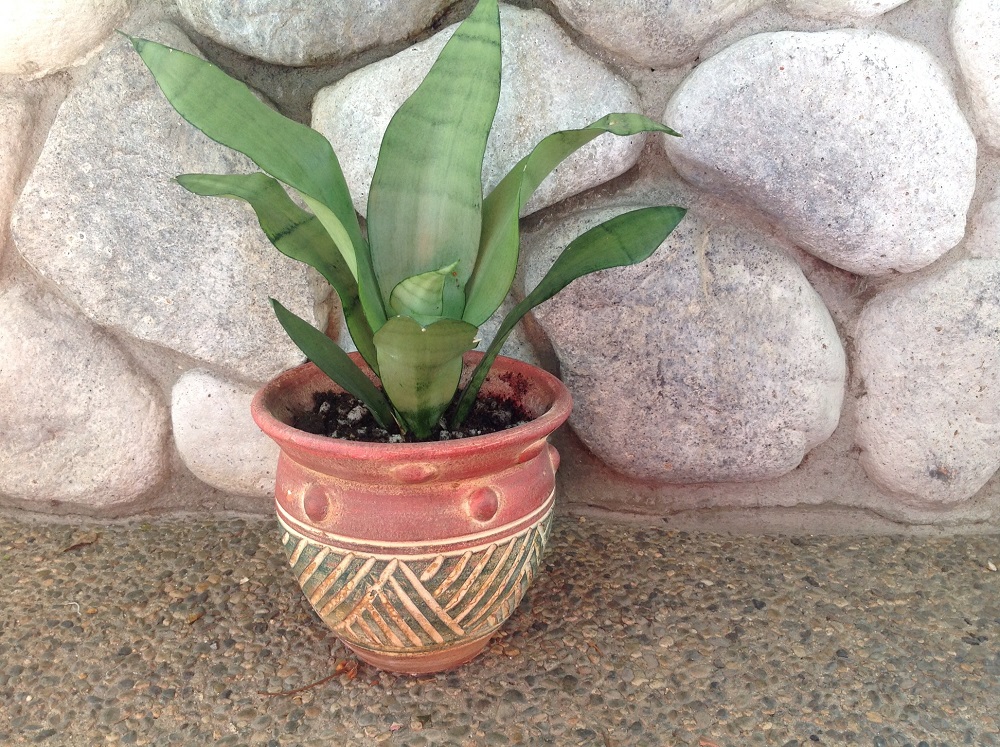
Terra cotta pots with no glaze
The thing to remember about unglazed terra cotta is that your plant will dry out much faster because the terra cotta is very porous and absorbs water quickly. This can be a plus if you tend to overwater. I find they work well with cacti and succulents and they like to be dry most of the time.
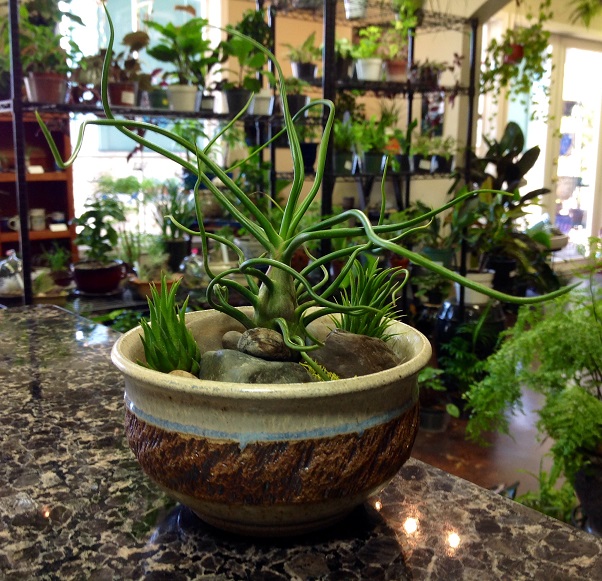
Glazed ceramic pots
Glazed pots help the plant to retain more of the water you give them and can come in all kinds of glazes, colors and textures.
Plastic pots
Plastic pots work fine for indoor plants and they can make your plant a little more portable if you like to mix things up by putting the plastic pot inside of a ceramic pot to change up the look.
Trays
When inside you’ll want to have a drain tray under the plant to catch the water, but always be mindful if the tray fills up with water to the level of the roots. If it doesn’t soak up the water within a few minutes, dump out the excess water or soak it up with a towel if it is a big heavy pot.
Some pots come with attached trays which can be convenient. It can also bring down the cost of having to buy both items. However, I have noticed that sometimes in small pots with attached saucers it is always a good idea to test the pot to see if he he drainage hole works before planting.
 Plants that like to be In a tight fit:
I have learned that certain plants perform better when stressed out by a tight fitting pot.
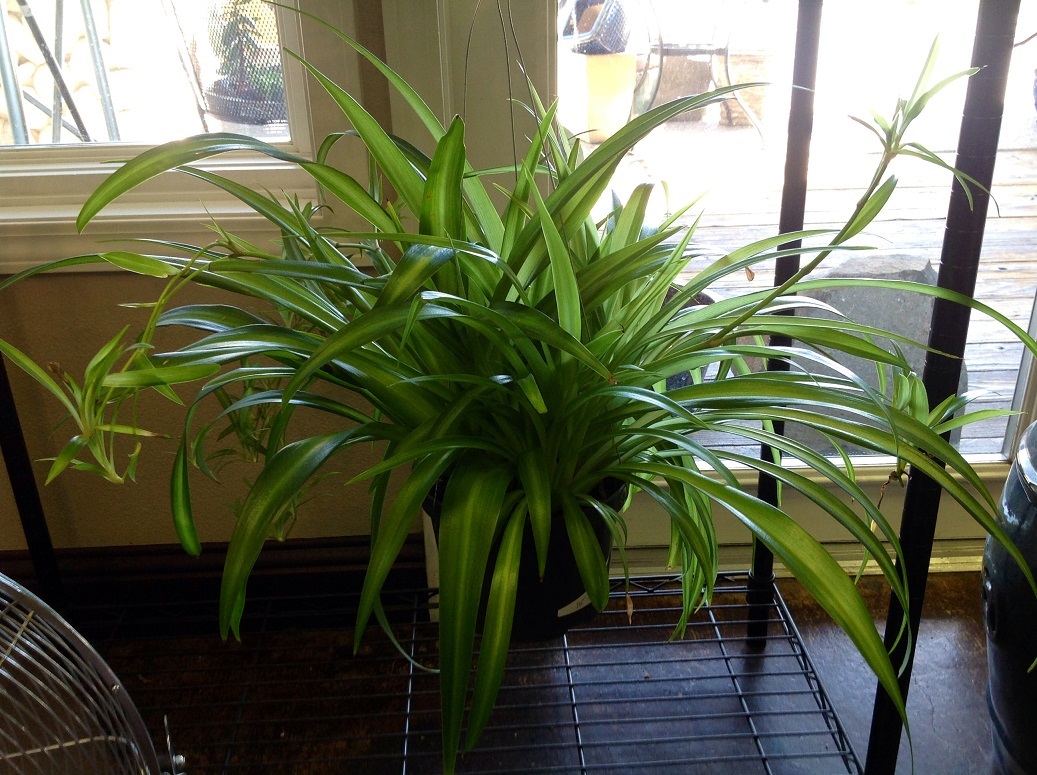
Spider plants, for example, produce more baby plants and flowers when they are in a smaller pot.
The same thing goes for peace Lillie’s. They produce more blooms when root bound.
Aloe vera will not produce baby plants unless they are a bit root bound.
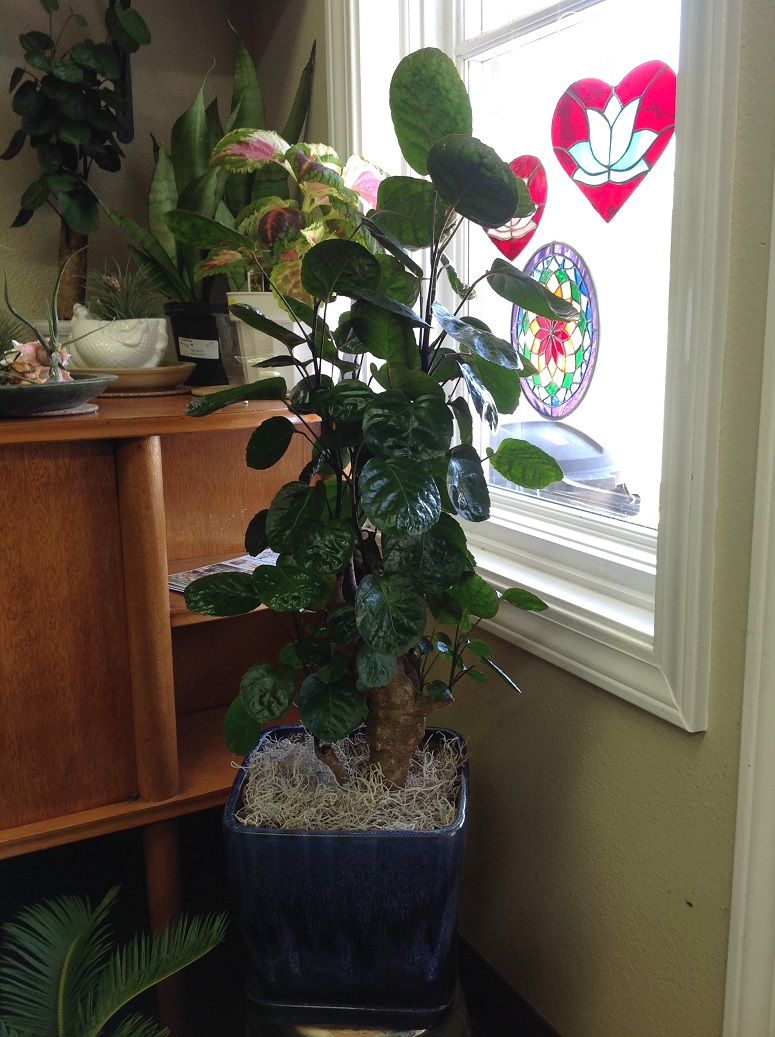
African violets, Boston ferns, ficus, schefflera and umbrella trees all prefer a tight fit to lots of space.
In any case, you can prolong having to re-pot many plants by fertilizing once every three months and adding a bit of fresh soil to the top of your pot every so often.
Soil Recommendations:
Knowing what your plant needs water-wise is the best way to select soil. In my experience most potting soils available at nurseries will work as well as the next, but there is always something to be said for high quality soil that is full of organic components. The more high quality the soil is the less time you will have to spend supplementing them with fertilizer. The only other comment I have about soil for now is that I always add pearlite to any soil mixture. Pearlite is the white airy bits that you find in potting soil that crumble when you squeeze them. They are actually tiny bits of pumice rock, which is very light and filled with air. I have found with indoor and outdoor growing, that pearlite added to soil, usually one third perlite to soil in a pot, greatly improves the growth rate and health of a plant. It helps to supply the roots with much more oxygen and protects from overwatering. Most soils come with pearlite already added, but usually it is not enough to match the ratio I like to use so I almost always supplement. You can purchase perlite by itself and most nurseries.
 As always, Happy Planting!
Feel free to leave comments or questions.
Amy Duke
Amy Duke is the owner of Solstice Gallery located at 40282 Highway 41, Suite 3, in Oakhurst. Visit on Facebook or stop in at the Gallery for more advice and ideas.